- Installing packages one-by-one, for example
tensorflow==2.10.0(most common) - Installing packages in bulk from a
requirements.txt - Importing a Github Repo in your sandbox
- Downloading a package in
setup.sh
Installing Public Python Dependencies
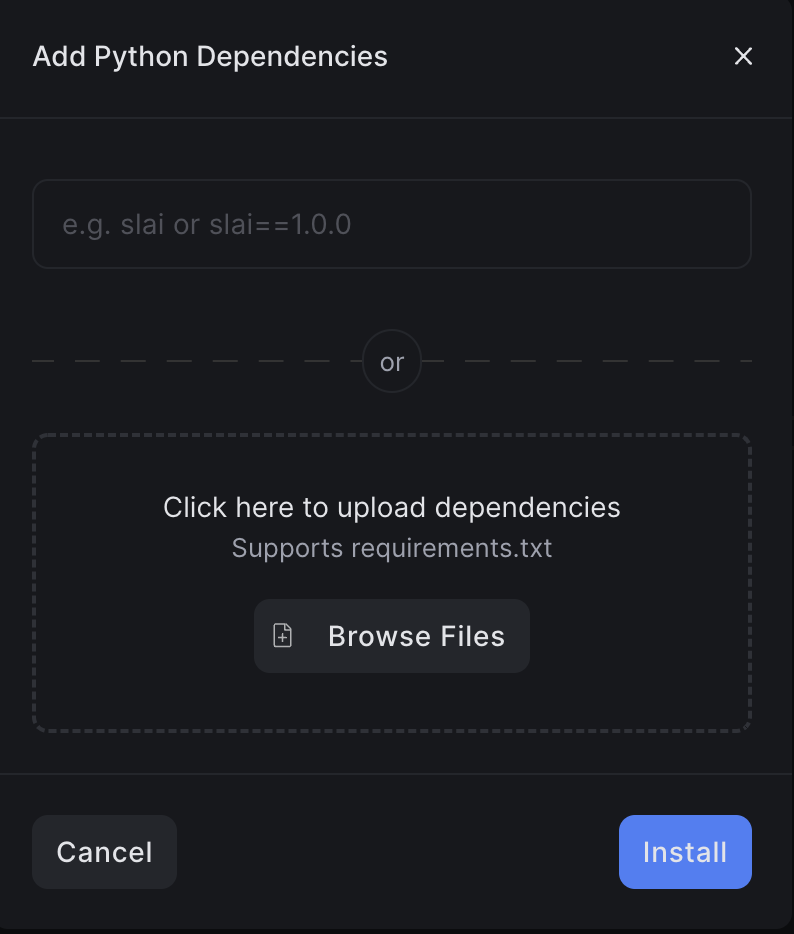
To install packages, click the “Add Dependency” button at the bottom of the page. You can either enter the Python package name to install, or you can upload an existingrequirements.txt file:
Installing Dependencies from Github
You may want to install dependencies from a Github repo. To do so, you can use our Github Integration to import your repo as a submodule dependency in the sandbox.Connect your Github account to Slai
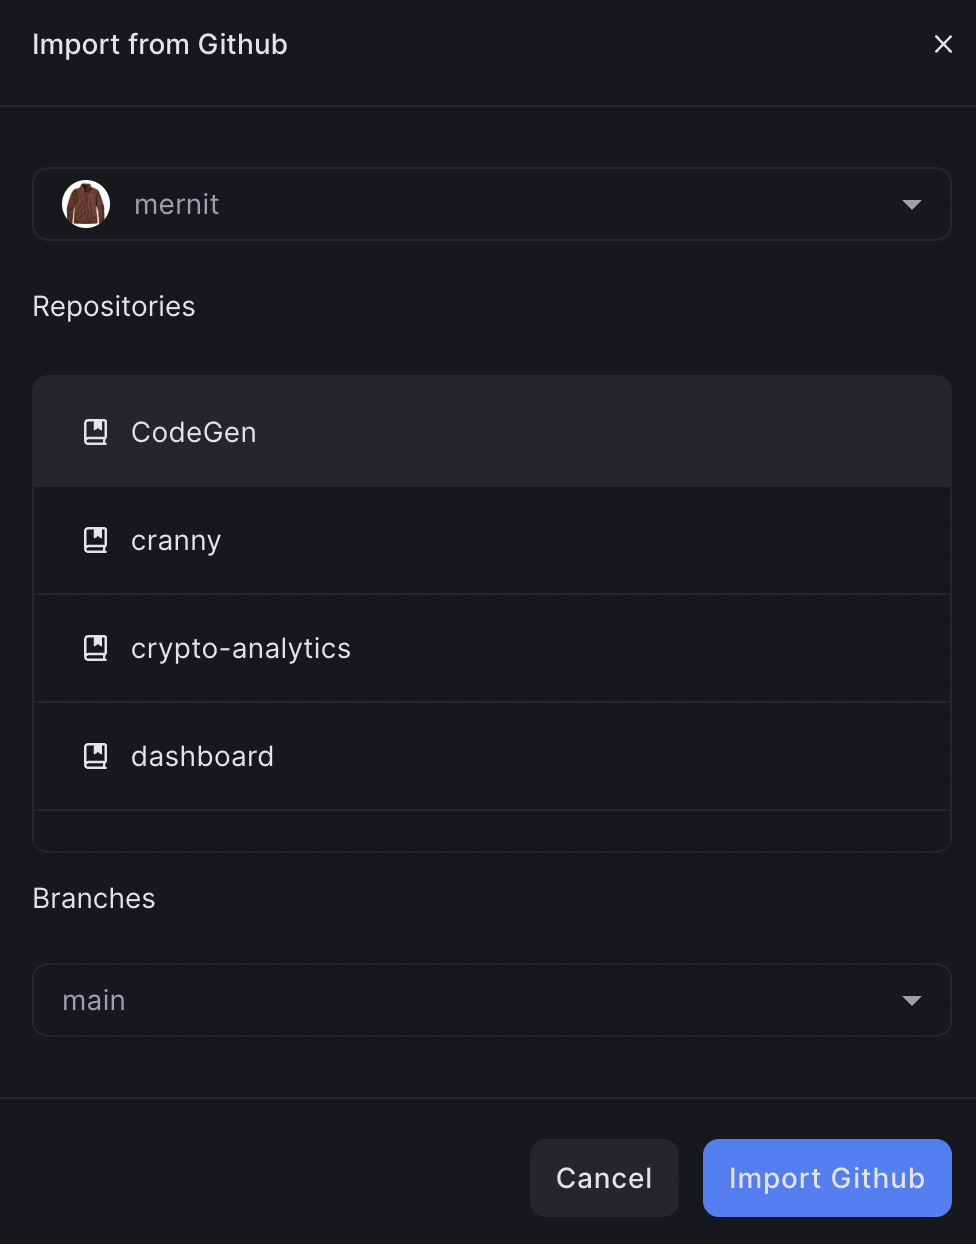
First, you’ll need to connect your Github to Slai. You can do that on the Integrations page.Importing a repo into a sandbox
After connecting your Github account to Slai, you can import repos directly into a sandbox. Click the + Add File icon in the files section, and select Import from Github. You can also enter the URL of any Github repo you have read access to.
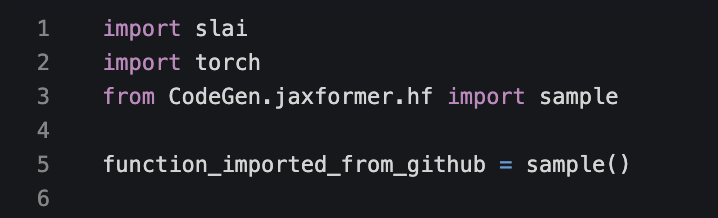
Using imported repos in your projects
After importing a repo, you’ll see all the files in the repo added to the file tree.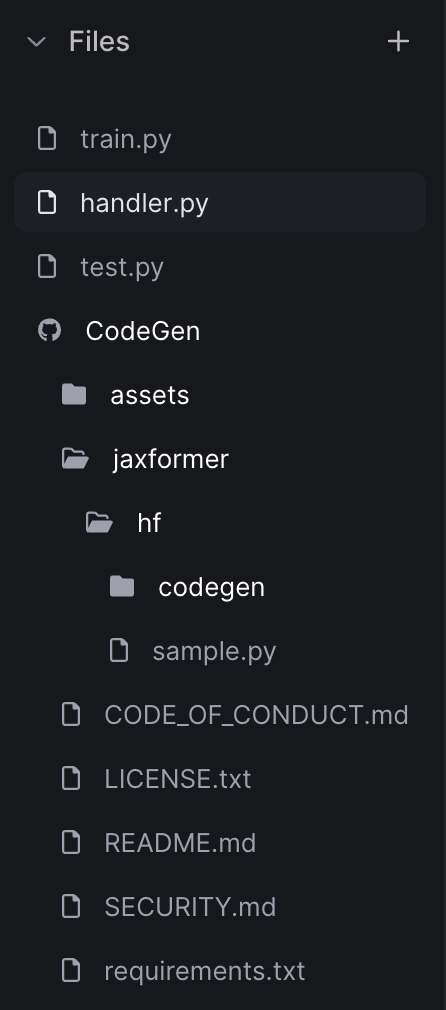
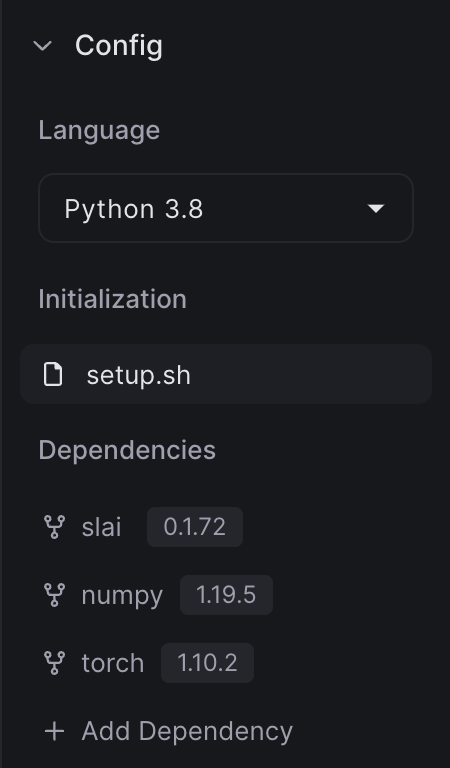
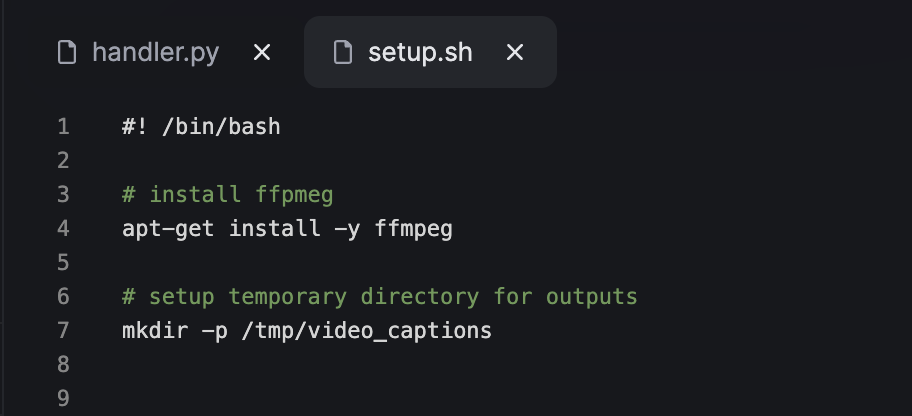
Installing Custom Dependencies
You may want to use dependencies that aren’t public on pip. For this use case, we recommend using thesetup.sh script. setup.sh can be customized with anything that you’d apt-get install in a Docker container.
Select the setup.sh option in the config section of the sandbox.