Define the environment

First, create a file with your Beam App definition. You can name this whatever you want. In this example, name it app.py.

app.py
import beam

# The environment your code will run on
app = beam.App(
    name="stable-diffusion",
    cpu=4,
    memory="16Gi",
    gpu=1,
    python_version="python3.8",
    python_packages=["diffusers", "transformers", "torch", "pillow"],
)

# Deploys function as async webhook
app.Trigger.Webhook(
    inputs={"prompt": beam.Types.String()},
    outputs={},
    handler="run.py:generate_image"
)

# File to store image outputs
app.Output.File(path="output.png", name="myimage")

# Persistent volume to store cached model
app.Mount.PersistentVolume(app_path="./cached_models", name="cached_model")

Inference Function

Write a simple function that takes a prompt passed from the user, and returns an image generated using Stable Diffusion.

You need an access token from Huggingface to run this example. You can sign up for Huggingface and access your token on the settings page, and store it in the Beam Secrets Manager.

Notice the image.save() method below. You defined a file path called output.png in app.py, and that’s where your images will be saved.

run.py
import os

# Specify the HuggingFace model cache before the diffusers library is imported
os.environ["TRANSFORMERS_CACHE"] = "/workspace/cached_models"
os.environ["HF_HOME"] = "/workspace/cached_models"

import torch
from torch import autocast
from diffusers import StableDiffusionPipeline
from PIL import Image


def generate_image(**inputs):
    pipe = StableDiffusionPipeline.from_pretrained(
        "CompVis/stable-diffusion-v1-4",
        torch_dtype=torch.float16,
        revision="fp16",
        # Add your own access token from Huggingface
        use_auth_token=os.environ["HUGGINGFACE_API_KEY"],
    ).to("cuda")

    prompt = inputs["prompt"]

    with autocast("cuda"):
        image = pipe(prompt, guidance_scale=7.5).images[0]
        print(image)

    image.save("output.png")

Deploying the API

In your teriminal, run:
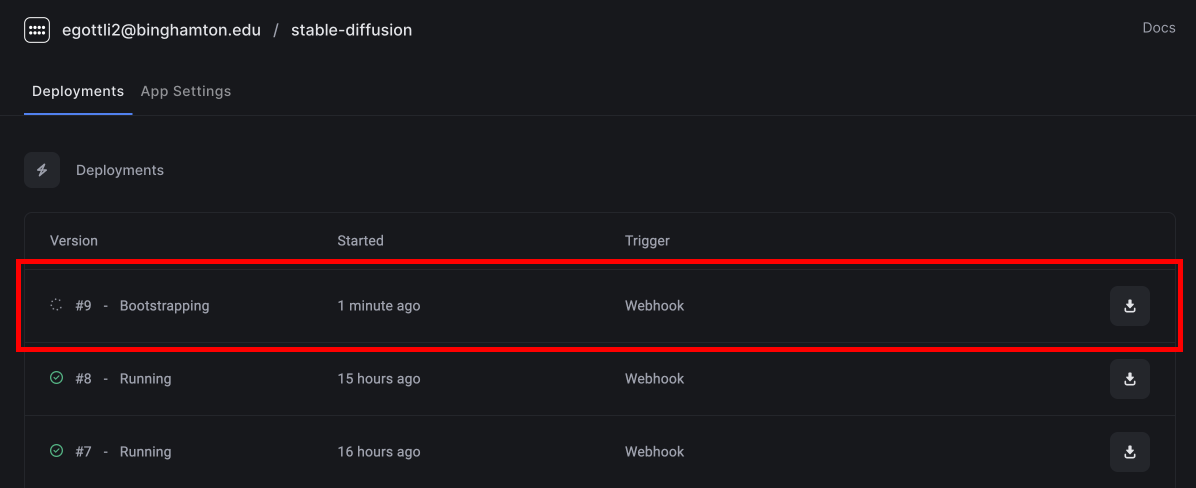
beam deploy app.py

You’ll see the deployment appear in the dashboard.

Deployment

Generating images

In the dashboard, click Call API to view the API URL.

Paste the code into your terminal to make a request.

  curl -X POST --compressed "https://beam.slai.io/jrg5v" \
   -H 'Accept: */*' \
   -H 'Accept-Encoding: gzip, deflate' \
   -H 'Authorization: Basic [YOUR_AUTH_TOKEN]' \
   -H 'Connection: keep-alive' \
   -H 'Content-Type: application/json' \
   -d '{"prompt": "a renaissance style photo of steve jobs"}'

The API returns a Task ID.

{ "task_id": "edbcf7ff-e8ce-4199-8661-8e15ed880481" }

Querying the status of a job

You will use the /task API to retrieve the status of a job, passing in the Task ID.

curl -X POST --compressed "https://api.slai.io/beam/task" \
  -H 'Accept: */*' \
  -H 'Accept-Encoding: gzip, deflate' \
  -H 'Authorization: Basic [YOUR_AUTH_TOKEN]' \
  -H 'Content-Type: application/json' \
  -d '{
	"action": "retrieve",
	"task_id": "edbcf7ff-e8ce-4199-8661-8e15ed880481"
}'

This returns the generated image in the outputs dictionary, as a pre-signed URL.

{
  "outputs": {
    "myoutput": "https://beam-data.slai.io/beam.slai.io/z6sks/outputs/z6sks-0041/53b8338c-d905-4356-845d-a259ec279cab/myoutput.zip"
  },
  "started_at": "2022-11-04T19:43:25.668303Z",
  "ended_at": "2022-11-04T19:43:26.017401Z",
  "task_id": "edbcf7ff-e8ce-4199-8661-8e15ed880481"
}