Overview
In this guide, you’ll learn how to:- Create an app with Beam
- Deploy your app to production
- View your logs in the dashboard
- Call the REST API
Getting started
You’ll need two things setup before you can complete this guide:Create an app
Let’s first create a Python file which will contain our Beam app definition. This is the environment you’ll be developing against once you start the app.You can name your files whatever you’d like - Beam tries to limit the changes
you need to make to your existing code structure, so you can organize your
projects however you prefer.
app.py
Connect to the runtime
Now spin up the environment. In your shell, run:Write a hello world function
Create a new file. This is the function you’ll be deploying on Beam.run.py
Test locally
You can run your code locally, just like you would normally. Except that this code will run on the remote environment that you defined above.Write a REST API Trigger
Your function can be deployed as a REST API or a webhook. Add a REST API Trigger toapp.py:
app.py
Deploying to prod 🚀
Deploy your app by running: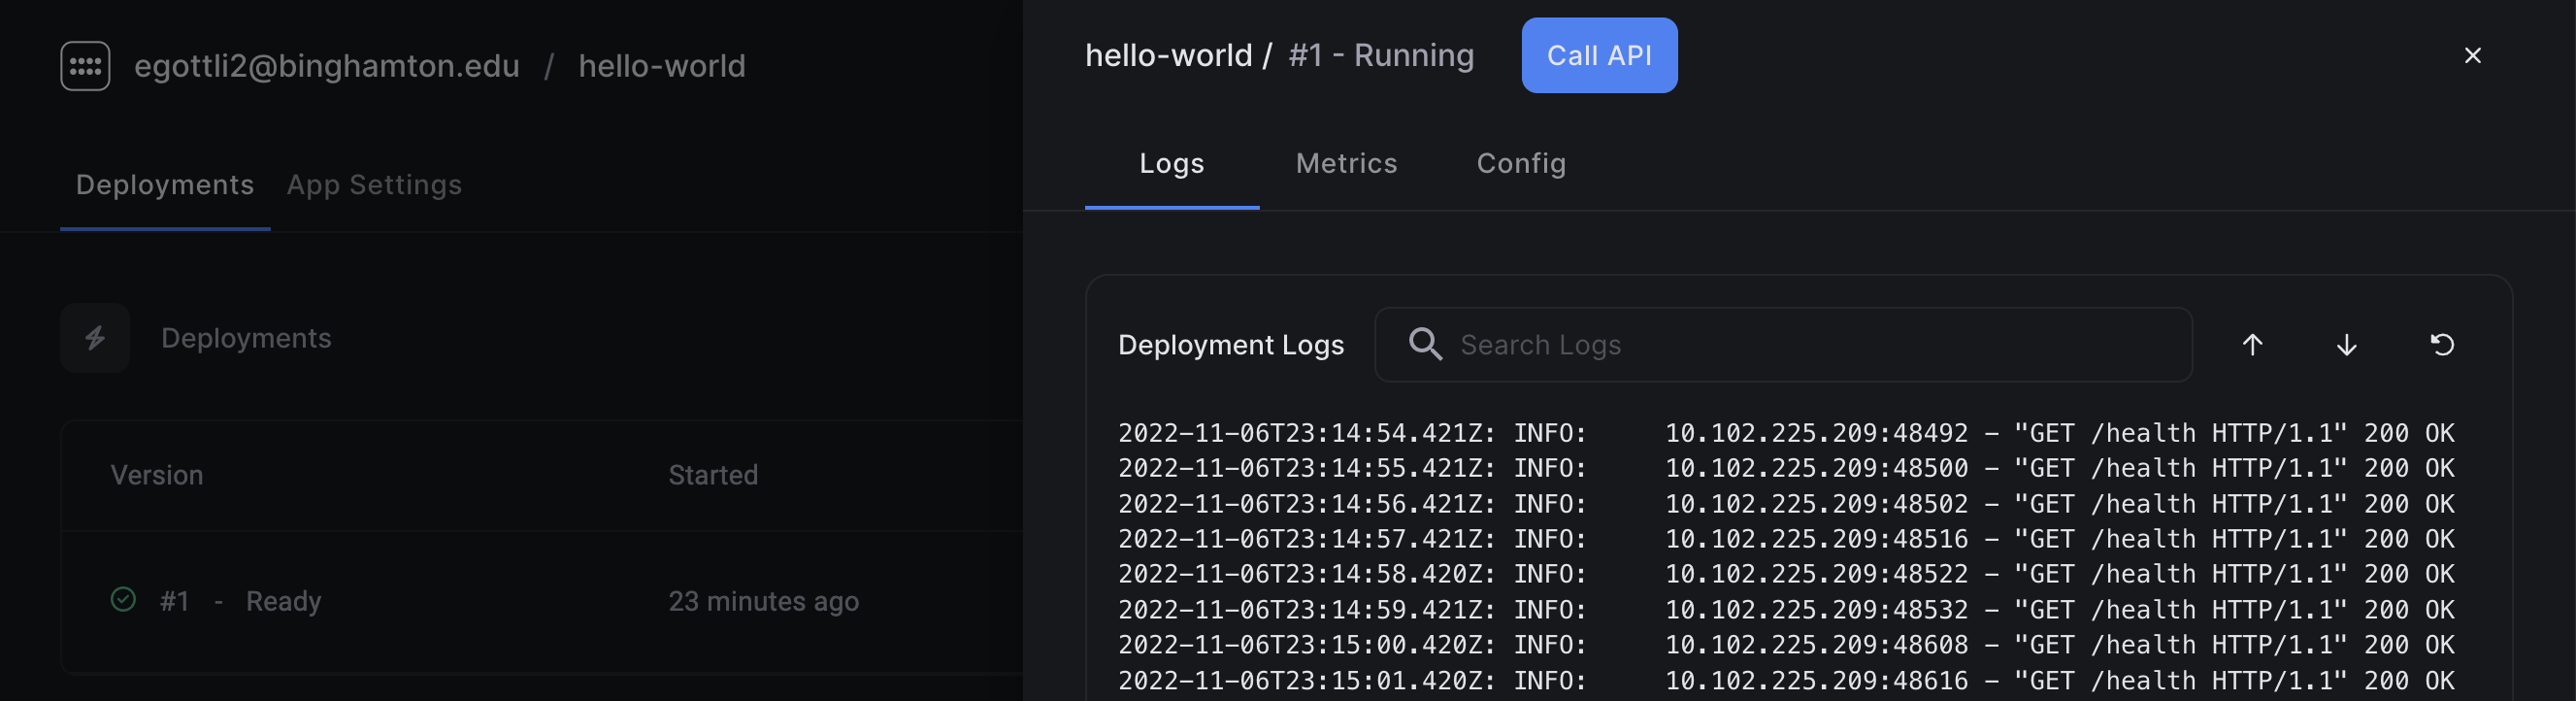
Calling the API
Click the Call API button in the dashboard. This will generate a cURL request for you to invoke the API. Copy the code, and paste it into your shell. You should see your logs and metrics appear in the dashboard.