> ## Documentation Index
> Fetch the complete documentation index at: https://docs.slai.io/llms.txt
> Use this file to discover all available pages before exploring further.
# Quickstart
> Get started with Beam in just a few minutes
### Overview
In this guide, you'll learn how to:
* Create an app with Beam
* Deploy your app to production
* View your logs in the dashboard
* Call the REST API
### Getting started
You'll need two things setup before you can complete this guide:
* [An account on Slai](http://slai.io)
* [The Beam CLI installed](/beam/getting-started/install-beam)
## Create an app
Let's first create a Python file which will contain our Beam app definition. This is the environment you'll be developing against once you start the app.
You can name your files whatever you'd like - Beam tries to limit the changes
you need to make to your existing code structure, so you can organize your
projects however you prefer.
```python app.py theme={null}
import beam
app = beam.App(
name="hello-world",
cpu=1,
memory="4Gi",
python_version="python3.8",
python_packages=[],
)
```
## Connect to the runtime
Now spin up the environment. In your shell, run:
```curl theme={null}
beam start app.py
```
You can run your code on this remote environment. It will feel as though you're working locally, but all your code is actually being run on a container we've magically spun up for you.
## Write a hello world function
Create a new file. This is the function you'll be deploying on Beam.
```python run.py theme={null}
def hello_world(**inputs):
print("After deploying, you'll see these logs in the web dashboard 👀")
return {"response": inputs["text"]}
if __name__ == "__main__":
text = "Testing 123"
hello_world(text=text)
```
## Test locally
You can run your code locally, just like you would normally. Except that this code will run on the remote environment that you defined above.
```curl theme={null}
python run.py
```
## Write a REST API Trigger
Your function can be deployed as a REST API or a webhook.
Add a REST API Trigger to `app.py`:
```python app.py theme={null}
import beam
app = beam.App(
name="hello-world",
cpu=1,
memory="4Gi",
python_version="python3.8",
python_packages=[],
)
app.Trigger.RestAPI(
inputs={"text": beam.Types.String()},
outputs={
"response": beam.Types.String(),
},
handler="run.py:hello_world",
)
```
## Deploying to prod 🚀
Deploy your app by running:
```curl theme={null}
beam deploy app.py
```
A browser window will open, showing you the deployment logs.
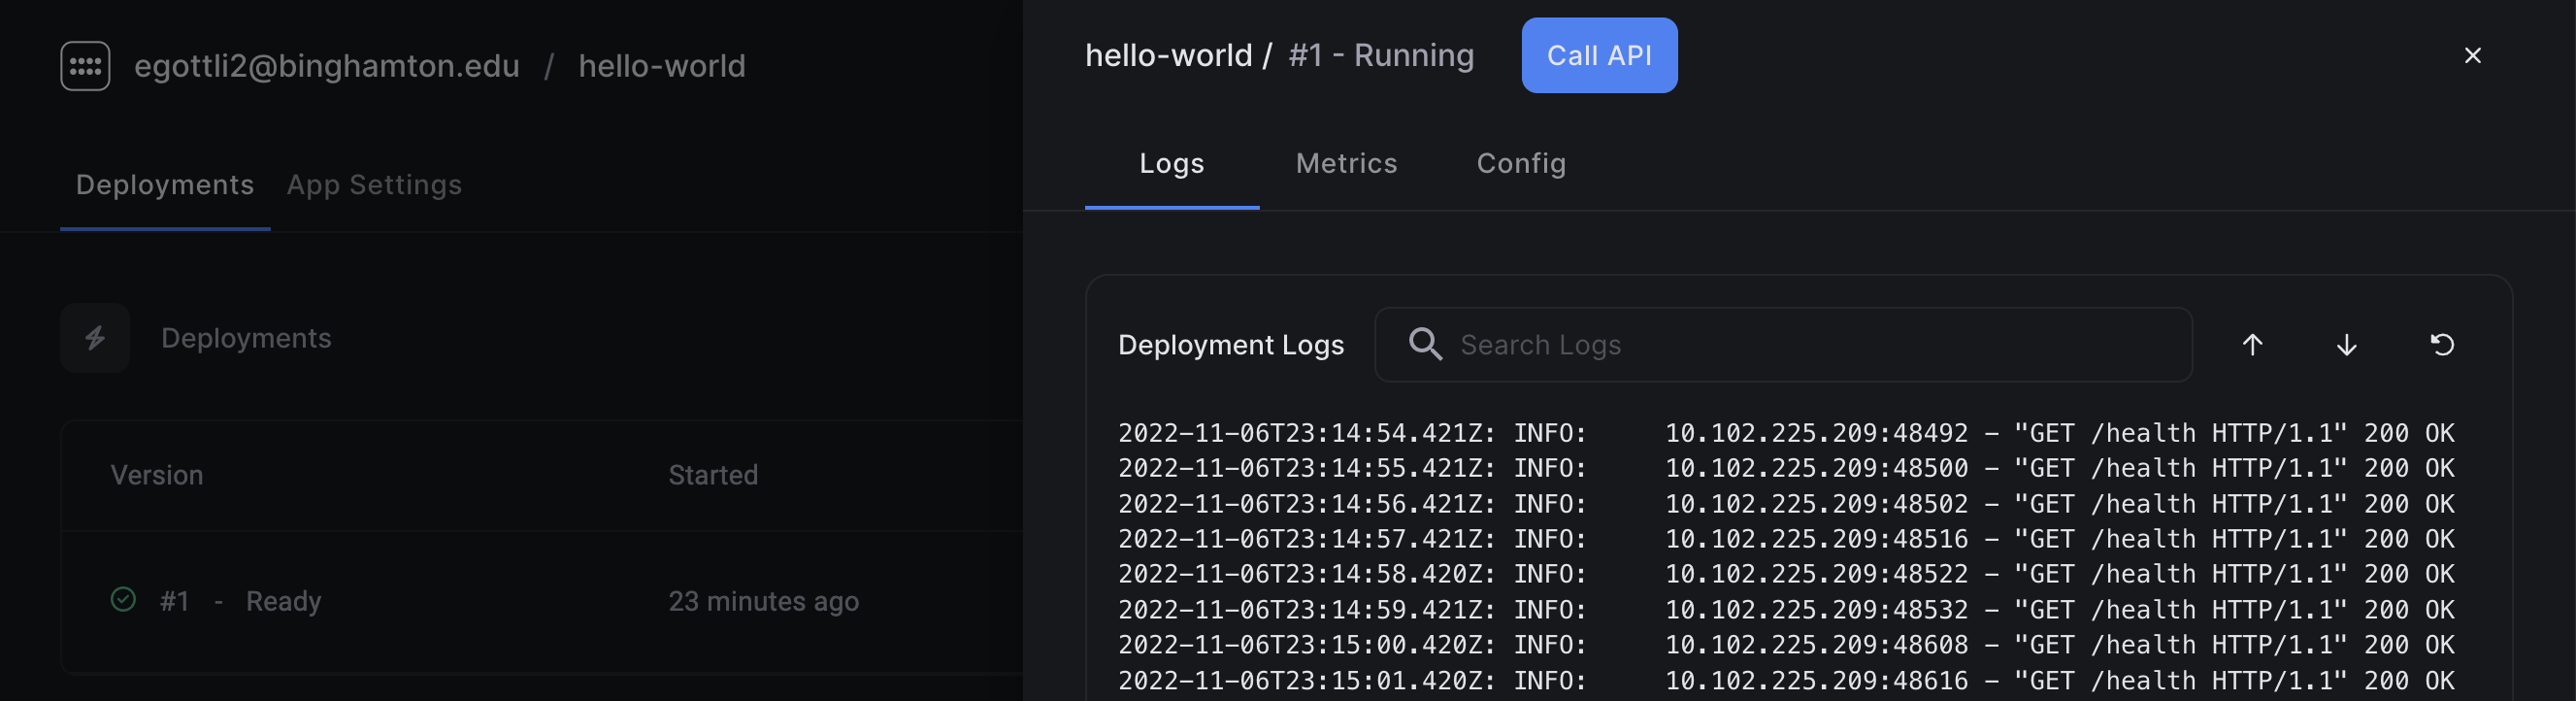 ## Calling the API
Click the **Call API** button in the dashboard. This will generate a cURL request for you to invoke the API. Copy the code, and paste it into your shell. You should see your logs and metrics appear in the dashboard.
## Calling the API
Click the **Call API** button in the dashboard. This will generate a cURL request for you to invoke the API. Copy the code, and paste it into your shell. You should see your logs and metrics appear in the dashboard.
 ## What's next?
Now that you've created a function, deployed it to prod, and invoked the API, you can explore some of our more advanced use cases, such as [deploying an app on GPU](/beam/getting-started/stable-diffusion-gpu) or scheduling your tasks to run asyncronously using [webhooks](/beam/getting-started/running-a-web-scraper).
## Need help?
Get help from our engineers, and ask to join our Slack channel to participate in the community.
## What's next?
Now that you've created a function, deployed it to prod, and invoked the API, you can explore some of our more advanced use cases, such as [deploying an app on GPU](/beam/getting-started/stable-diffusion-gpu) or scheduling your tasks to run asyncronously using [webhooks](/beam/getting-started/running-a-web-scraper).
## Need help?
Get help from our engineers, and ask to join our Slack channel to participate in the community.